Wahoo World
An amusement park stage and one of the biggest maps in the game. The middle has two layers: an upper level (the round central plaza and bridges) and a lower level (rotating floors and dividers). How the bridges extend and the floors rotate depends on the mode (they stay still in Splat Zones). The upper level has clear sightlines and little cover, so long-range weapons get easy shots, but there are plenty of detour and flanking routes through the lower level.
Splat Zones
Zones tips
- In Splat Zones, the bridges and rotating floors don't move. The zone is the round high ground in the middle, and the basic plan is to trade paint head-on from the upper level.
- Once you have it, hold it by zoning two spots: the front of the zone and the unpaintable bridge.
- Your hold falls apart easily if enemies get behind you through the lower level. When you're breaking a hold, flip it around and flank through the lower level yourself.
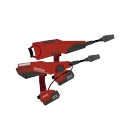 Dualie Squelchers★Weapons that shine here+3.5
pt S
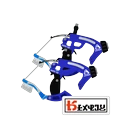 Dapple Dualies Nouveau★Weapons that shine here+3.0
pt S
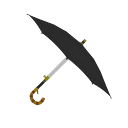 Undercover Brella★Weapons that shine here+2.9
pt C
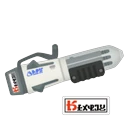 Ballpoint Splatling Nouveau
Players say: Like Chargers, they can easily control the wide upper level from the central plaza or high ground. The Heavy Splatling and Hydra Splatling get recommended.
★Weapons that shine here+2.4pt S
 Dark Tetra Dualies★Weapons that shine here+2.2
pt −
 Heavy Splatling Deco
Players say: Like Chargers, they can easily control the wide upper level from the central plaza or high ground. The Heavy Splatling and Hydra Splatling get recommended.
★Weapons that shine here+1.9pt B
 BloblobberWeapons that struggle here-3.1
pt B
 ExplosherWeapons that struggle here-2.8
pt A
 BlasterWeapons that struggle here-2.7
pt B
 Inkline Tri-StringerWeapons that struggle here-2.5
pt
Tower Control
Tower tips
- The stretch between the first and second checkpoints is the hardest part, since the enemy base overlooks it. Don't hold back on specials; stack them together and thin out the enemy team.
- On defense, the first checkpoint matters most. If it falls, meet them at the curve between the second and third checkpoints from the two high-ground spots.
- There's a section where the Tower drops down from a high spot, so paint ahead and make sure it's safe before you move on.
Dark Tetra Dualies★Weapons that shine here+1.7pt A
 Glooga Dualies★Weapons that shine here+1.5
pt B
 Clash Blaster NeoWeapons that struggle here-1.5
pt C
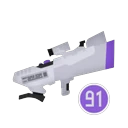 S-BLAST '91Weapons that struggle here-1.5
pt C
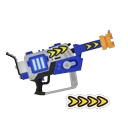 Rapid Blaster Pro Deco
Players say: There are lots of bumps and curved paths, so there are only a few spots where you can make your shots explode right where you want, and it doesn't have enough range to reach the middle from your high ground.
Weapons that struggle here-1.4pt C
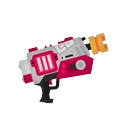 Rapid BlasterWeapons that struggle here-1.4
pt
Rainmaker
Rainmaker tips
- If the bridge at the back right of the middle is extended, go straight for the right checkpoint. If it isn't, head for the left checkpoint.
- To reach the left checkpoint, it's safer to duck through the lower level and break sightlines than to cross the unpaintable floor up top.
- After you break the checkpoint, the left route to the goal is relatively safe.
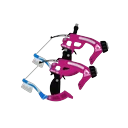
Clam Blitz
Clams tips
- When the bridge is extended, going over it is the standard route. You can throw a power clam straight into the basket from near the tip of the bridge.
- The lower route is easy to shoot at from the surrounding high ground, so it's better for ambushes and decoys.
- Defenders shouldn't only watch the front of the basket. Keep an eye out for flankers coming from the left and right (especially the sides). A keeper who sits behind the basket watching only the front is an easy target.

Turf War
Turf tips
- Long-range players should grab the central plaza early and keep watch over the upper level.
- Short-range weapons that walk straight across the upper level get picked off by long range. Use the rotating floors and the lower level to hit them from behind.
- There's a ton of turf, so watch for missed spots on both sides, like areas you can only reach from the spawn point.
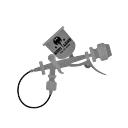 Aerospray MG★Weapons that shine here+1.5
pt B
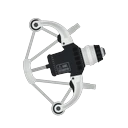 REEF-LUX 450★Weapons that shine here+1.2
pt C
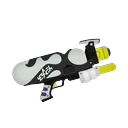 Splattershot Nova★Weapons that shine here+1.2
pt −
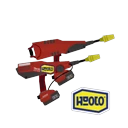 Custom Dualie Squelchers★Weapons that shine here+1.2
pt B
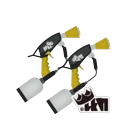 Enperry Splat Dualies★Weapons that shine here+1.0
pt C
 Sloshing MachineWeapons that struggle here-1.8
pt C
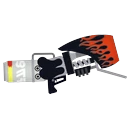 Range BlasterWeapons that struggle here-1.7
pt C
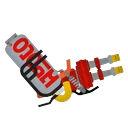 Hydra SplatlingWeapons that struggle here-1.6
pt C
 Luna BlasterWeapons that struggle here-1.4
pt
Update changes
- Ver. 3.0.0 (February 28, 2023) changed the terrain in Turf War, Splat Zones and Clam Blitz to reduce the impact of weapons that attack from far away (Inkipedia). A pillar (pole) went up in the middle, but lots of players doubted it helped, saying things like "E-liters still snipe you right past the pillar" and "all it does is stop Reefsliders." The general take is that the pillar gets in the way a bit in long-range duels but can't fully block sightlines.
- Ver. 8.0.0 fixed a bug where players could use Kraken Royale to get into the enemy base in an unintended way (Inkipedia).