Shipshape Cargo Co.
Set on a semi-submersible cargo ship. It's a vertical stage with a valley-like dip and high ground overlooking it in three places: your side, the center, and the enemy side. The high ground makes great sniping spots for long-range weapons, but there are also lots of paintable walls short-range weapons can use to ambush, so weapons of any range are said to do well here. The center path is narrow and squeezed between high ground, and enemies come from three directions: left, front, and right.
Splat Zones
Zones tips
- The zone is in the low ground between the center high grounds. It's hard to paint from the high ground and there's little cover up there, so someone needs to manage things near the zone.
- Taking the center high ground helps you win fights, but it doesn't do much for the zone. Whether you're holding or breaking a hold, don't get too fixated on the high ground.
- If you can take the high ground on the left (enemy side), you can really limit where the other team can move.
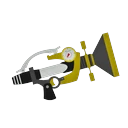 Sploosh-o-matic★Weapons that shine here+3.1
pt S
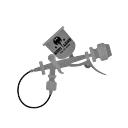 Aerospray MG★Weapons that shine here+2.2
pt B
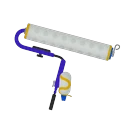 Splat Roller
Players say: They're good at punishing short-range weapons that ambush from the walls at the center-left high ground, and close-range weapons are said to hold up fairly well even in the cramped Splat Zones zone.
★Weapons that shine here+2.0pt B
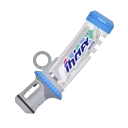 Mint Decavitator★Weapons that shine here+1.9
pt B
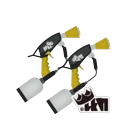 Enperry Splat Dualies★Weapons that shine here+1.8
pt S
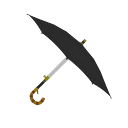 Undercover Brella★Weapons that shine here+1.6
pt D
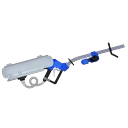 E-liter 4KWeapons that struggle here-2.5
pt B
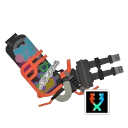 Torrentz Hydra SplatlingWeapons that struggle here-2.4
pt D
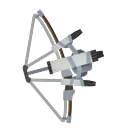 Tri-StringerWeapons that struggle here-1.6
pt C
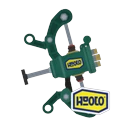 Custom Wellstring VWeapons that struggle here-1.6
pt
Tower Control
Tower tips
- Most of the stage is flat and the Tower has the height advantage, so attackers are favored. The most important thing is not falling behind in numbers during the opening.
- Defend checkpoint 1 from several angles: long-range weapons from the left high ground and short-range weapons from the nearby walls.
- Once the Tower reaches checkpoint 2, riders can get onto the high ground. If the high ground on your side gets taken, you're in serious trouble.
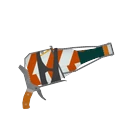 Squeezer★Weapons that shine here+1.7
pt B
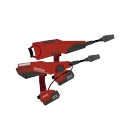 Dualie Squelchers
Players say: Said to be good at diving into the enemy side via the left and right slopes during the Tower Control opening.
★Weapons that shine here+1.3pt B
Enperry Splat DualiesPlayers say: Said to be good at diving into the enemy side via the left and right slopes during the Tower Control opening.
★Weapons that shine here+1.1pt S
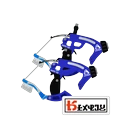 Dapple Dualies Nouveau
Players say: Said to be good at diving into the enemy side via the left and right slopes during the Tower Control opening.
★Weapons that shine here+1.1pt
Rainmaker
Rainmaker tips
- The Rainmaker's starting spot, the checkpoints, and the goal are close together in a straight line, so a numbers lead can push the count fast. Avoid a wipeout at all costs.
- The front route is the standard. The checkpoint in the middle of the enemy side is easy to shoot down on from the high ground, so use specials to thin out the enemies up there before pushing through.
- Opinions on the left checkpoint are split: some guides say it's far (via the grates) but relatively safe, while others say it's hard to make progress on the count there.
Clam Blitz
Clams tips
- Tons of clams spawn in the center, so the team that takes both high grounds above the center valley has the edge.
- With a long-range weapon holding the center-left high ground, you can attack from both the front route and the left grate route.
- The left grate bridge route leaves you exposed, so it suits long-range weapons. The front is a narrow path between high ground where you're easy to ambush.

Turf War
Turf tips
- For long-range weapons, the high ground on the right (seen from your side) is safe. If you take the center high ground, you can splat enemies moving along the valley floor from above.
- The center-left high ground has lots of paintable walls and is easy to ambush, so frontliners who are good up close, like Rollers, should cover it.
- Don't focus on the center high ground so much that enemies slip through the narrow front path. Be extra wary of that path in the last minute (lots of players push through with Curling Bombs).

Update changes
- Added in Splatoon 3's Drizzle Season 2023 (Ver. 5.0.0). Later updates have only been bug fixes, and no notable terrain changes have been found (Inkipedia Version history).
- At launch it was praised as "one of the best stages in the series," but others said "you can't break a hold" and "it's rough for short-range weapons," so opinions were split (Torikara Sokuho and Spla Log roundups). In a 2023 survey it scored well overall and was especially liked by short- and mid-range players (note).