Humpback Pump Track
A returning stage from Splatoon 2. A bumpy outer track wraps around the mountain-shaped high ground in the middle, and you can loop around from the outer track into the enemy base, so flanks happen a lot. It's wide with lots of blind spots, so matches hinge on whether your team can split up the jobs: fighting in the middle, covering from the high ground, and watching for flankers.
Splat Zones
Zones tips
- Mid- and long-range weapons should hit the zone directly from the high spots on the outer left and right. There's cover there, so you're hard to hit from the middle. For long range, the high ground on your left side, which enemies can only approach from the edge, is relatively safe.
- The central high ground can be climbed from every direction, so attack from where the enemy isn't looking.
- In ranked modes there are one-way blocks on the left and right, so you can't go straight into the enemy base from the left lane.
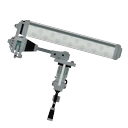 Dynamo Roller
Players say: Some say it's easy to close in through the blind spots in the terrain and ambush.
★Weapons that shine here+5.2pt S
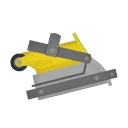 Dread Wringer
Players say: The mountain-shaped middle has lots of blind spots, so Sloshers that can arc shots over the ridge are said to have an easy time (some even call the Slosher top tier here).
★Weapons that shine here+4.6pt B
 Custom Splattershot Jr.★Weapons that shine here+4.5
pt C
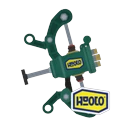 Custom Wellstring V★Weapons that shine here+3.7
pt B
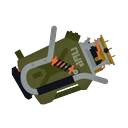 Explosher
Players say: The mountain-shaped middle has lots of blind spots, so Sloshers that can arc shots over the ridge are said to have an easy time (some even call the Slosher top tier here).
★Weapons that shine here+3.7pt C
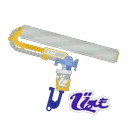 Big Swig Roller Express
Players say: Some say it's easy to close in through the blind spots in the terrain and ambush.
★Weapons that shine here+3.5pt D
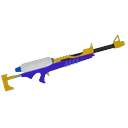 Splat ChargerWeapons that struggle here-4.3
pt D
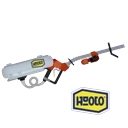 Custom E-liter 4KWeapons that struggle here-4.1
pt B
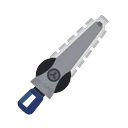 Splatana Stamper
Players say: The middle is hill-shaped and bumpy, so it's hard to make use of a Splatana's straight-line reach. Besides predictions made before it came out, high-XP Splatana Stamper players also list it as a stage they struggle on (no mention specific to Splat Zones was found).
Weapons that struggle here-4.0pt D
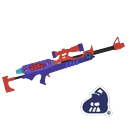 Z+F SplatterscopeWeapons that struggle here-3.0
pt
Tower Control
Tower tips
- While the Tower is still at the first checkpoint, take the enemy high ground you'll need later (on the enemy's right side). Without it, moving the Tower is nearly impossible.
- Defenders can ambush the Tower from the Inkrail.
- Between the first and second checkpoints the Tower passes through a dip with lots of blind spots, so take care of the wall tops, the rail and the central high ground before moving it.
Dynamo RollerPlayers say: Some say it's easy to close in through the blind spots in the terrain and ambush.
★Weapons that shine here+2.8pt A
 Painbrush★Weapons that shine here+2.1
pt S
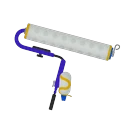 Splat Roller
Players say: Some say it's easy to close in through the blind spots in the terrain and ambush.
★Weapons that shine here+1.8pt B
Custom Splattershot Jr.★Weapons that shine here+1.7pt S
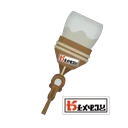 Octobrush Nouveau★Weapons that shine here+1.5
pt A
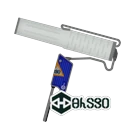 Foil Flingza Roller
Players say: Some say it's easy to close in through the blind spots in the terrain and ambush.
★Weapons that shine here+1.4pt D
Splat ChargerWeapons that struggle here-2.3pt D
 E-liter 4KWeapons that struggle here-2.2
pt C
 Custom E-liter 4K ScopeWeapons that struggle here-1.8
pt D
 Goo TuberWeapons that struggle here-1.7
pt
Rainmaker
Rainmaker tips
- The right route is the standard. Clear out enemies around the checkpoint and it's easy to break through, and it's also a safe spot to park the Rainmaker when you're ahead.
- The left route passes right in front of the enemy's high ground, so many call it a "trap," but others say it works for a quick finish if your team is mostly short-range and has a numbers advantage.
- After the checkpoint, jumping from the Inkrail on the right route toward the goal pedestal can gain you a lot of count.
Clam Blitz
Clams tips
- Once you have a numbers advantage, go for the shortest route: straight through the front.
- There are three routes (front, right and left), so attack them at the same time to split the enemy's focus.
- When the enemy high ground is empty, circling around from the right to score is hard to stop.
 Gold Dynamo Roller
Players say: Some say it's easy to close in through the blind spots in the terrain and ambush.
★Weapons that shine here+2.3pt B
Custom Splattershot Jr.★Weapons that shine here+1.8pt C
 Flingza Roller
Players say: Some say it's easy to close in through the blind spots in the terrain and ambush.
★Weapons that shine here+1.7pt A
Splat RollerPlayers say: Some say it's easy to close in through the blind spots in the terrain and ambush.
★Weapons that shine here+1.6pt B
 Inkbrush★Weapons that shine here+1.4
pt B
 N-ZAP '89★Weapons that shine here+1.3
pt C
 Range BlasterWeapons that struggle here-1.4
pt
Turf War
Turf tips
- Split three jobs with your team: fighting in the middle, supporting from the high ground and outer track, and dealing with flankers.
- Even when the front line moves up, leave one player watching the outer flanking routes. If nobody's on it, take the job yourself, even with a short-range weapon.
- Before you flank, check whether anyone is watching the outer track. If it's wide open, paint the enemy base in one go (a huge chance when there's under 20 seconds left).
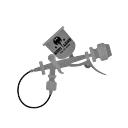 Aerospray MG★Weapons that shine here+2.3
pt A
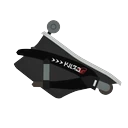 Bloblobber
Players say: The mountain-shaped middle has lots of blind spots, so Sloshers that can arc shots over the ridge are said to have an easy time (some even call the Slosher top tier here).
★Weapons that shine here+1.9pt A
N-ZAP '89★Weapons that shine here+1.5pt C
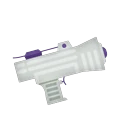 Splattershot Jr.★Weapons that shine here+1.4
pt B
ExplosherPlayers say: The mountain-shaped middle has lots of blind spots, so Sloshers that can arc shots over the ridge are said to have an easy time (some even call the Slosher top tier here).
★Weapons that shine here+1.3pt A
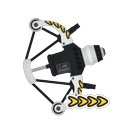 REEF-LUX 450 Deco★Weapons that shine here+1.1
pt −
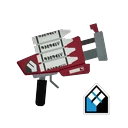 Clash Blaster NeoWeapons that struggle here-1.3
pt C
Range BlasterWeapons that struggle here-1.2pt
Update changes
- It returned in Splatoon 3 in the 2023 Sizzle Season (Ver. 4.0.0). Apart from some trimming around spawn compared to the previous game, the terrain is almost the same (Inkipedia, wikiwiki).
- Splatoon 3 updates have only been bug fixes, and no notable terrain changes were found (Inkipedia version history).
- Opinions are split. Some like that you can fight across three routes (front, left and right) and hit long-range players from the side or behind, while others complain it's too wide to cover (roundup sites). In a 2023 survey it was rated well overall, and the longer the range of a player's weapon, the closer to average their rating (note).